
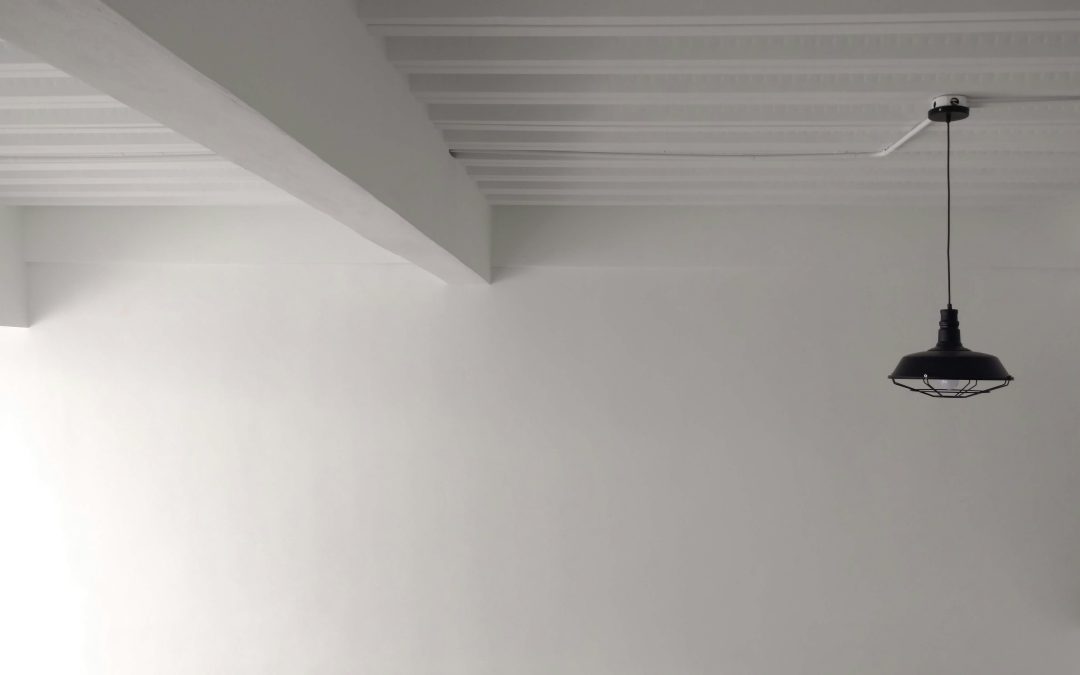
Painting a room with soaring ceilings can be both exciting and intimidating. High ceilings make a home feel open, elegant, and spacious — but they also make painting a lot more challenging. From reaching those tall corners to maintaining an even finish, it takes the right approach, tools, and patience to get professional results.
If you’re ready to refresh your space but aren’t sure where to start, this guide covers everything you need to know about painting walls with high ceilings efficiently and safely.
Why Painting High Ceilings Is Different
High ceilings dramatically change how light hits your walls, which affects color choice and finish. They also add physical difficulty: you’ll need ladders or extension poles, and mistakes like drips or uneven edges are more noticeable from below. Unlike painting a standard 8-foot wall, you’ll be dealing with greater surface area, more prep work, and a longer cleanup process.
The key is planning — having the right tools, setup, and safety measures in place before you dip your brush.
Gather the Right Tools and Equipment
Before you begin, make sure you have everything ready. Painting walls with high ceilings safely and efficiently requires more than just a roller and tray.
1. Extension Poles
An extension pole allows you to reach high areas without constantly moving a ladder. Look for a sturdy telescoping pole that attaches securely to your roller frame. Choose one that extends at least 12 to 16 feet, depending on your ceiling height.
2. Ladder or Scaffold
A stable ladder is essential for trimming edges near the ceiling. For very tall rooms — such as vaulted or cathedral ceilings — a scaffold may be safer and more comfortable. Always position ladders on even flooring, and never overreach to one side.
3. Roller and Brushes
Use a roller with a long nap (¾ inch to 1 inch) to cover more surface area and ensure even coverage on textured walls. For smooth walls, a shorter nap (⅜ inch) will provide a clean, polished finish.
Angled brushes help you paint edges and corners precisely, especially near the ceiling line.
4. Drop Cloths and Painter’s Tape
Protect your floors, baseboards, and furniture with heavy-duty drop cloths. Painter’s tape will help you achieve sharp, clean lines along trims and edges.
5. Paint Tray and Grid
A paint tray or grid helps you control how much paint goes on the roller, preventing drips when working at height. A paint bucket with a grid is ideal for high-ceiling projects since it holds more paint and reduces the need for frequent refills.
Choose the Right Paint and Color
Color plays a huge role in how your space feels, especially with high ceilings. The right shade can make the room feel cozy and balanced rather than overwhelming.
- Warm colors (like beige, taupe, or terracotta) can make tall spaces feel more intimate.
- Cool colors (like gray, blue, or sage) enhance the airy, open atmosphere.
- Accent walls can add depth and focus to one area of the room.
- Flat or matte finishes help hide imperfections but are harder to clean. Eggshell or satin finishes offer a nice balance between elegance and durability.
When painting ceilings or upper walls, consider using a shade slightly lighter than the lower portion to maintain harmony without overpowering the space.
Step-by-Step Guide to Painting High Ceilings
Now that you’re equipped and ready, here’s how to get the best results when painting walls with high ceilings.
Step 1: Clear and Prep the Room
Move furniture to the center and cover everything with drop cloths or plastic sheeting. Clean the walls to remove dust and grease, especially near vents and baseboards. Tape around moldings, door frames, and windows.
Inspect your walls for cracks or holes and patch them before you start painting. Smooth any rough spots with sandpaper to ensure a uniform finish.
Step 2: Start with the Ceiling
If you’re painting both the walls and ceiling, always start with the ceiling. This way, any drips won’t ruin freshly painted walls. Use an extension roller and work in sections, overlapping slightly to prevent streaks.
For ceilings with different colors or textures, use painter’s tape along the edges to keep the transition line neat.
Step 3: Cut In the Edges
“Cutting in” means painting a straight line along the ceiling and corners before rolling the main wall. Use an angled brush for precision. Work slowly and consistently, overlapping slightly into the area you’ll roll later.
To save time and avoid constant ladder climbing, attach your brush to an extension handle or use an edger tool.
Step 4: Roll the Walls in Sections
Pour your paint into the tray or bucket, load the roller evenly, and start painting in a “W” or “M” pattern. This helps spread the paint uniformly and avoids streaks. Work from top to bottom, maintaining a wet edge to blend each section seamlessly.
Don’t overload the roller — excess paint can drip and create uneven texture.
Step 5: Apply a Second Coat if Needed
Once the first coat dries, check for uneven spots or thin coverage. Apply a second coat using the same method for a smooth, professional-looking finish. High walls often need a second coat since light hits them differently from various angles.
Step 6: Remove Tape and Clean Up
Before the paint fully cures, gently remove painter’s tape at a 45-degree angle to prevent peeling. Clean your brushes, rollers, and trays immediately with soap and warm water. Once everything is dry, remove the drop cloths and return your furniture.
Safety Tips for Painting High Walls
Painting at height requires caution. Follow these safety tips to avoid accidents:
- Always position your ladder on flat, stable ground.
- Don’t overreach — move the ladder instead of leaning.
- Use non-slip shoes for better grip.
- Never paint alone when using tall ladders or scaffolds; have someone nearby to assist.
- Keep paint and supplies on a stable platform, not on top of the ladder.
Safety should always come before speed.
When to Hire a Professional
If your ceilings exceed 15 feet or you’re uncomfortable working on ladders, hiring professional painters might be the best option. They have specialized equipment like scaffolding, extension sprayers, and safety gear to handle tall spaces efficiently. A professional can also achieve cleaner lines and a flawless finish, saving you time and potential frustration.
Tips for a Professional Look
- Use high-quality paint and tools — they make a noticeable difference in coverage and texture.
- Paint during daylight for better visibility.
- Blend your strokes quickly to prevent visible roller marks.
- Keep a damp cloth handy to wipe accidental splatters immediately.
Conclusion
Painting walls with high ceilings may seem daunting, but with the right preparation, tools, and techniques, you can achieve stunning results that completely transform your space. Take your time setting up, work methodically, and focus on safety. Whether you want to add warmth with a new color or refresh a fading finish, the effort is worth it once you see the elegant, cohesive look of freshly painted walls towering above your room.
A little patience, the right tools, and careful planning can turn a challenging paint job into a rewarding home improvement project that enhances both comfort and style.